I stumbled upon a crafty venture by Cap Creations the other night while I was up from a serious case of insomnia and she was making a bird feeder out of a teacup and saucer! Too cute! I knew this was something I could easily do myself so I documented the process myself and shot the photos to go along with it. So with that, I'm happy to introduce you to a DIY post!
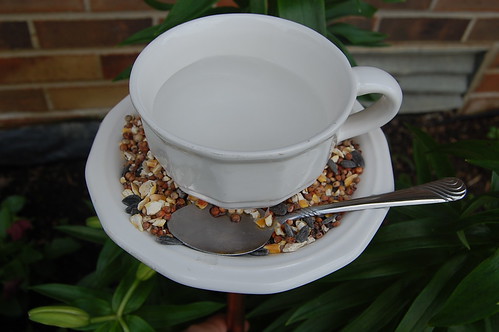
Teacup Bird Feeder

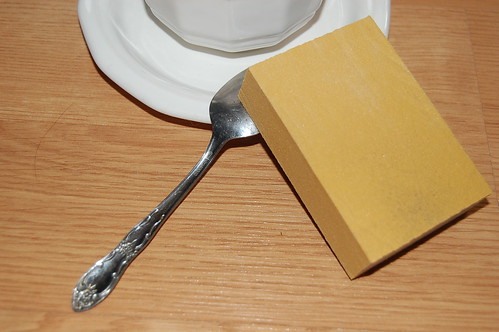
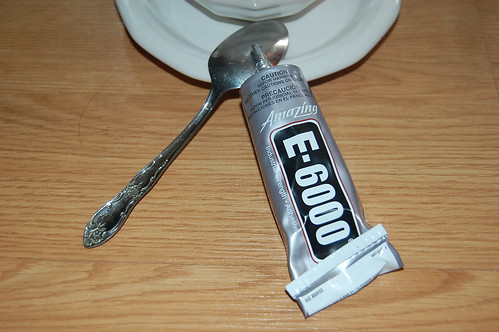
Materials You'll Need:
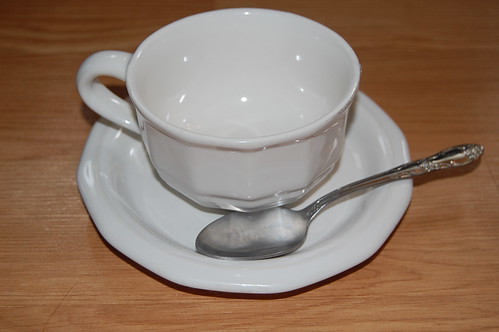
- Teacup
- Saucer
- Spoon
- E-6000 Adhesive
- Sandpaper
- 1/2" Copper Cap
- 1/2" Copper Pipe (I used 24")
- Birdseed
- Water
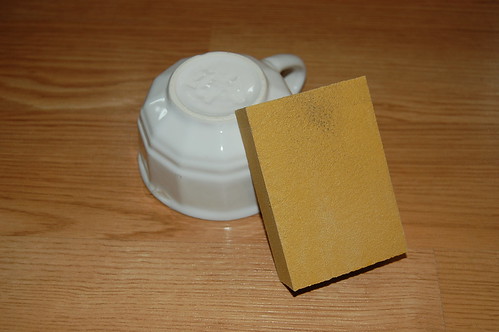
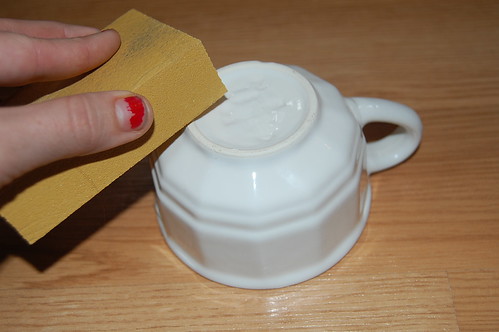
Step One: Sand the bottom rim of the teacup that will sit on the saucer to allow for better adhesion. (I bought my teacup and saucers at Goodwill for $1!)

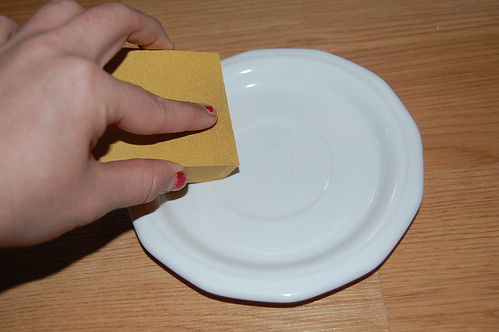
Step Two: Sand the inner part of the saucer where the rim of the teacup will sit. This, too, for better adhesion.
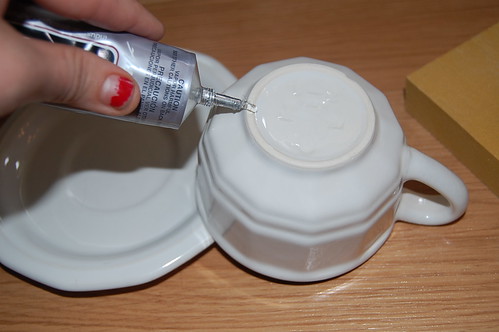
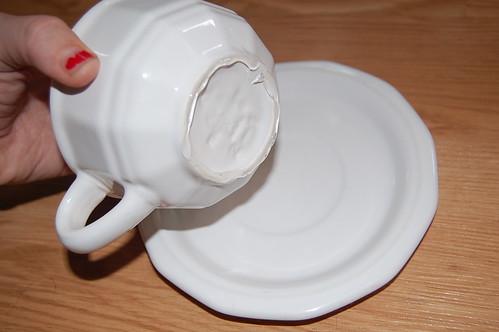
Step Three: Add the adhesive to the bottom rim of the teacup and place the cup on the saucer where you would like it to harden. (Apply pressure to the cup and saucer at this time to ensure a good bond.)
Step Four: Sand the bottom of the spoon that will rest on the saucer.
Step Five: Apply adhesive to the bottom of the spoon and situate on the saucer.
Step Six: The hardest part of all.... WAIT! You must give the adhesive the proper amount of time to dry so that it does not slip once put upright on a post. This can be as long as 24 hours, so check the back of your adhesive for drying times (I gave mine 3 or 4 hours and it was fine).
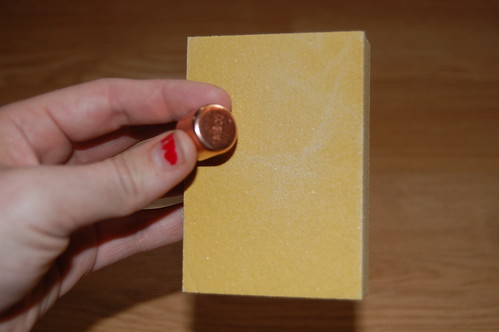
Step Seven: After you ensure that your teacup and saucer are properly bonded, sand the top of the copper cap.

Step Eight: Apply adhesive to the top of the cap and situate in the center bottom of the saucer. and then once more... WAIT! Give it just as much time, if not longer! This bond needs to be very very strong because this bird feeder is so top heavy!
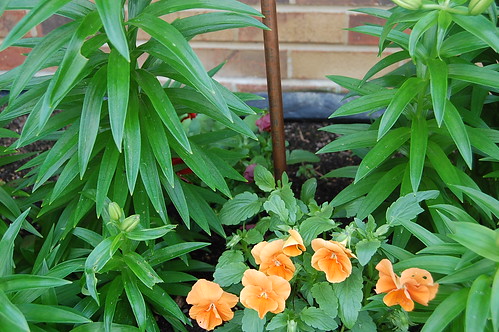
Step Nine: After the cap has dried, insert the copper pipe once turned upright. Take outside and place in a flower bed or potted plant. (The deeper the potting soil, the better. It will help keep the bird feeder from tipping over.)
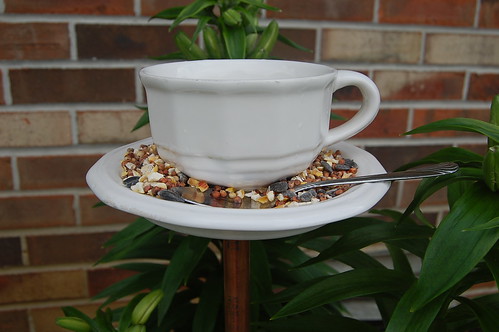
Step Ten: Add water to the teacup and birdseed to the saucer. Then sit back and enjoy! Your little birdie friends will love the little perch of the spoon handle and the yummy bird feed you've provided for them. It doesn't hurt that it looks awesome, too!

* DISCLAIMER: You do NOT have to use copper piping for this project. I simply did it because it looks nice! (It's very expensive, so if you DO decide to use it, be sure not to use it in places that are easily accesible by greedy hands! People steal copper on the daily because they can get a lot of money for it!)
Hope you enjoyed my little DIY post! Let me know if you decide to try it!
xoxo

No comments:
Post a Comment