Showing posts with label recipe. Show all posts

Wednesday, December 1, 2010

Guest Post: Katrina's Quinoa Salad Recipe!


Hi everyone! I'm Katrina from The Demure Muse! Thanks so much for having me over here at Little Chief Honeybee.


I can usually be found blogging about my daily outfits or jewelry making but today I'm here to share with you one of my most recent kitchen experiments. I hope you try it out this holiday season because I think the colors are perfect for the winter festivities!

Quick disclaimer: This whole recipe was an experiment between myself, a meatetarian, and my friend who has newly converted to being a vegetarian. If you’re like me and have never heard of quinoa prior to this, it’s a pseudo-cereal that is extremely nutritious and is often considered a vegetable substitute due to its nutritional value instead of a grain.

Vegetarian Quinoa Salad - serves 4

What you’ll need:
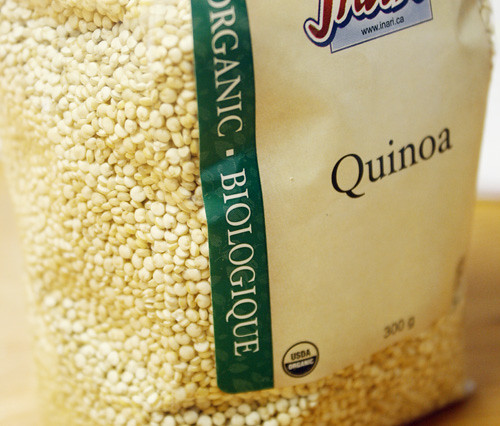
1. 2 cups of quinoa
2. 4 cups of vegetable broth (or a mix of vegetable broth and water)
3. 1 ½ cups of cherry tomatoes
4. carton of fresh basil (add as desired)
5. small block of feta cheese (or as much/little as you’d like!)

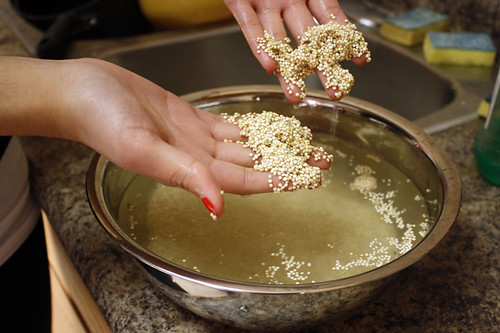
First, we need to wash the quinoa. You may notice that the water that the quinoa is being washed in will have a bit of a “soapy” feel. I did two rinses before cooking the quinoa.

Much like preparing rice, place a pot on the stove at medium to high heat with the vegetable broth in it. Once the broth comes to a boil, add the quinoa and put a lid on it. Remember to stir the quinoa every few minutes so that it doesn’t stick to the bottom of the pot. You’ll know when the quiona is ready because all of the broth gets boiled into the grains.

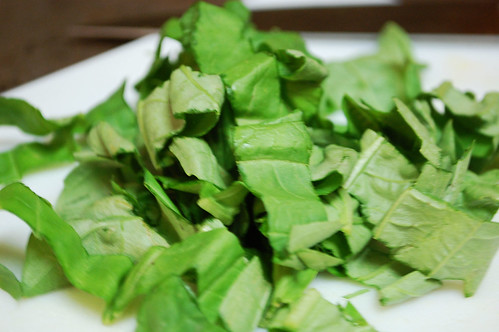
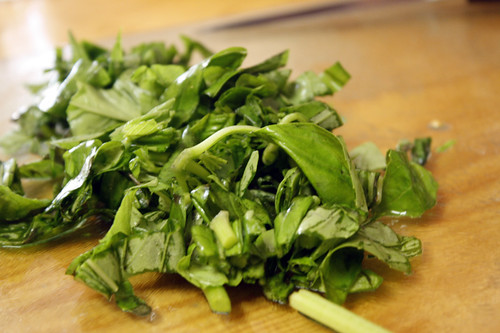
While the quinoa cooks, you can prep the rest of the ingredients for the salad. The great thing about making this salad is the fact that there is relatively little “‘cooking” involved! From here, halve the cherry tomatoes and chop the fresh basil. We want the basil to be in relatively big pieces.

Cut the feta cheese into about ½ inch cubes and then mix all of the fresh ingredients together in a separate bowl.


By this time, your quinoa should be well on its way to being fully cooked. We were a little impatient when we made this first batch of salad and we mixed all the ingredients in with the quinoa while it was still extremely hot, which melted the feta cheese. Depending on how you like your salad, it might be better to let to let the quinoa cool down a bit before mixing everything together.

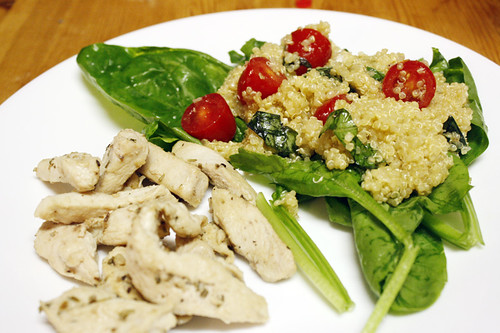
Due to my meatetarian needs, I added a side of chicken. (I know, I know. I’m not the most supportive friend in terms of helping a newly converted vegetarian. I have a habit of forcing myself to have a balanced meal in terms of carbohydrates, vegetables, and proteins) I couldn't bring myself to have only a salad for dinner which is why I added the meat. I also added a small bed of spinach to my quinoa salad.


I hope you enjoyed the recipe! :)

--------------------------------------------------

Big thanks to Katrina for her awesome recipe! I can't wait to try it! You can stop by Katrina's blog or shop if you'd like to learn more about her!

Thursday, November 4, 2010

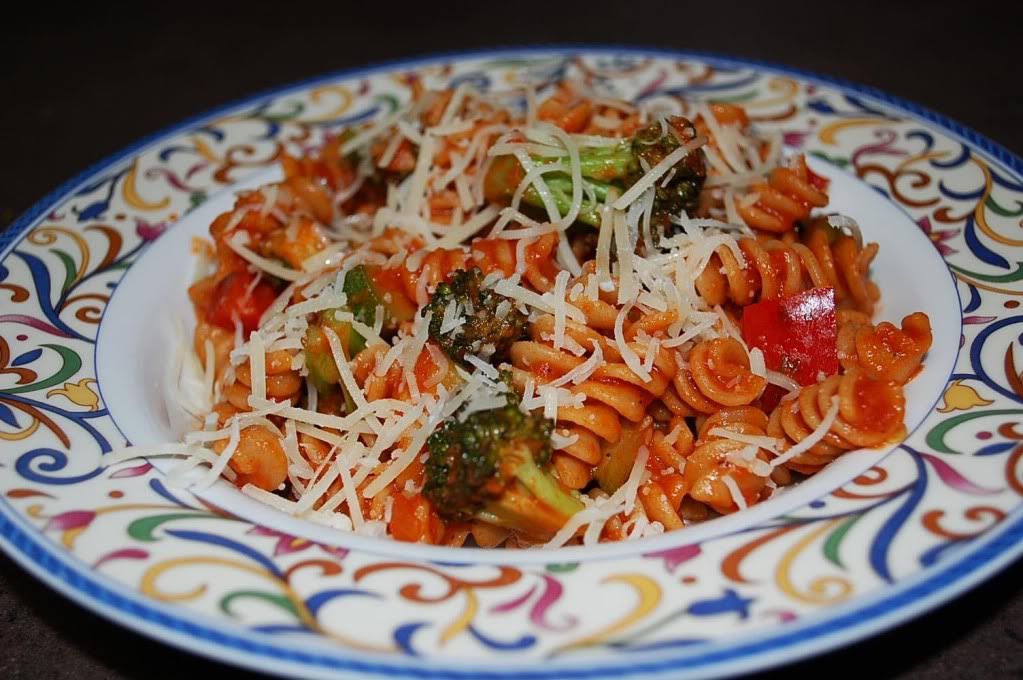
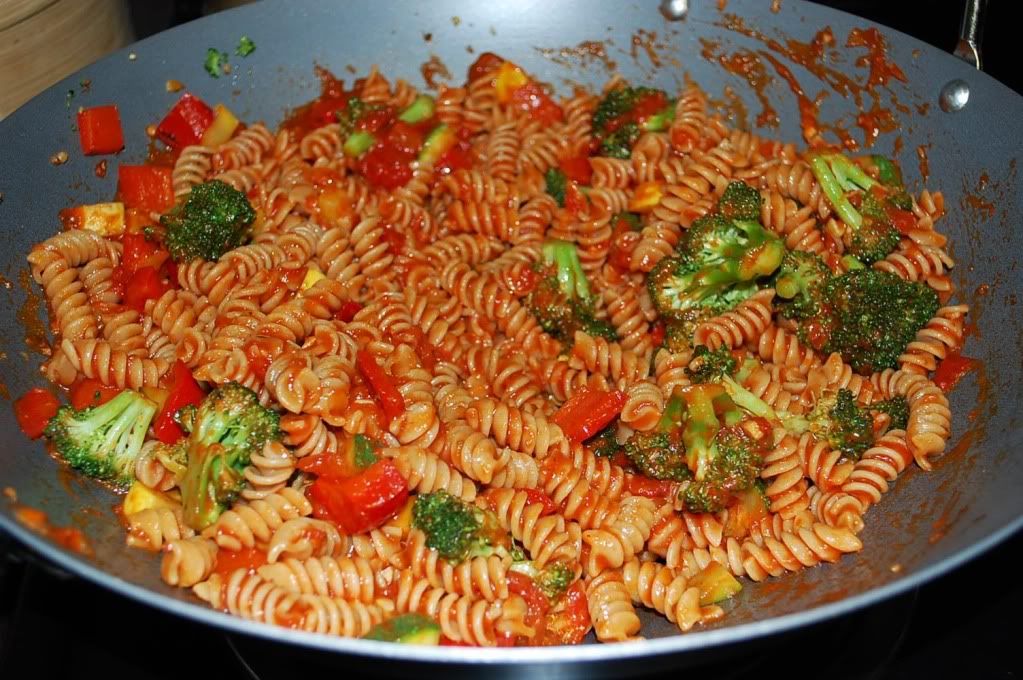
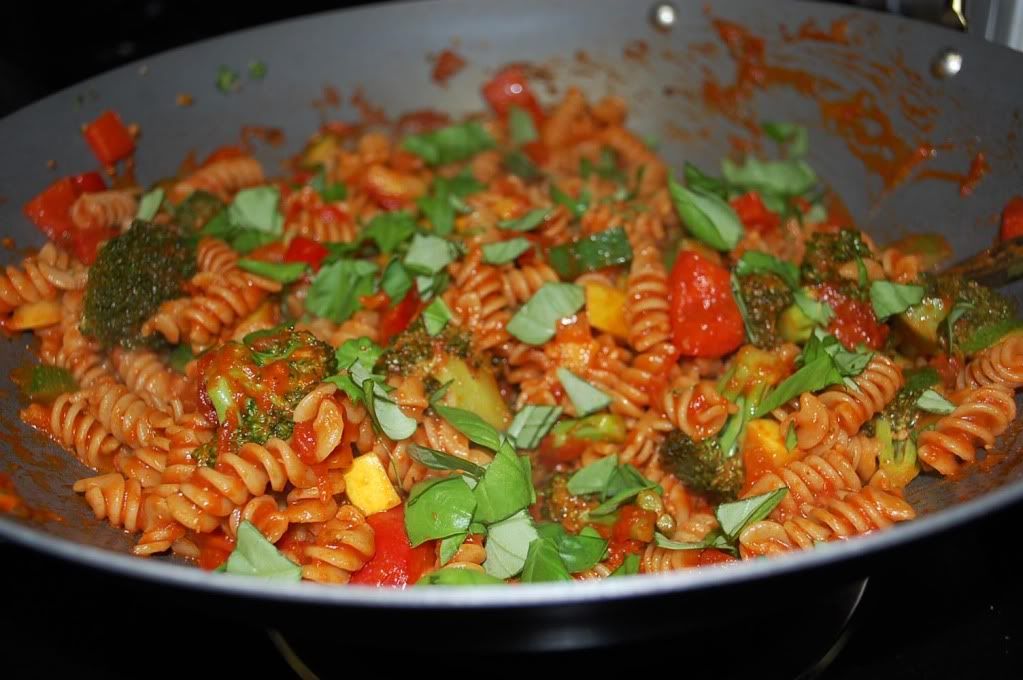
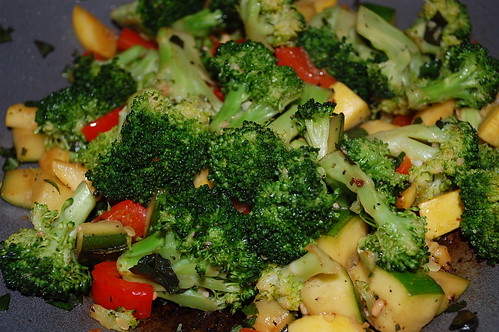
Foodie Feature: Mike's Veggie Pasta

We're back with another Foodie Feature installment! It's been a bit since we've done one of these but we have a few recipes we're excited to share. We thought we'd keep this one really simple (and because we had it for dinner tonight!). It's pretty much fool-proof so I bet I could even make it! Enjoy! 

Veggie Pasta


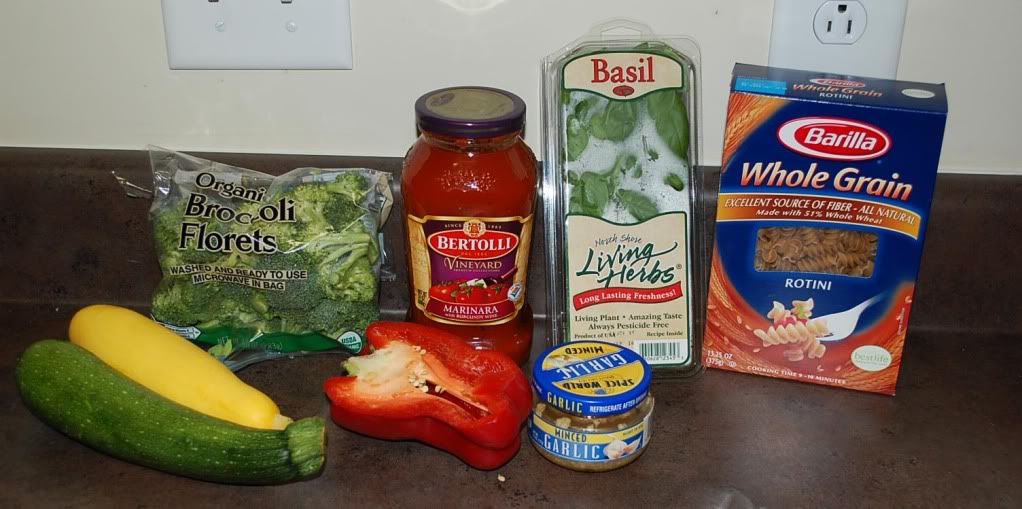
Ingredients:
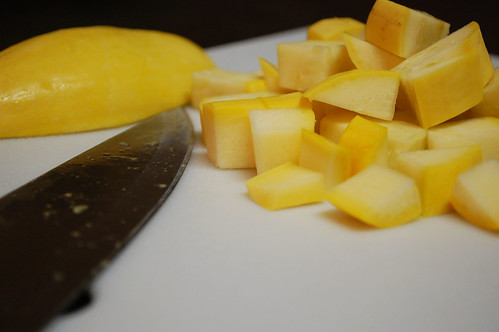
1/2 Yellow Squash
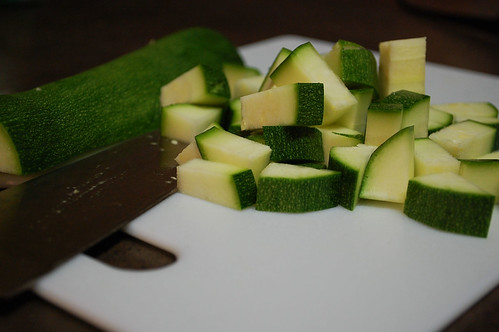
1/2 Zucchini
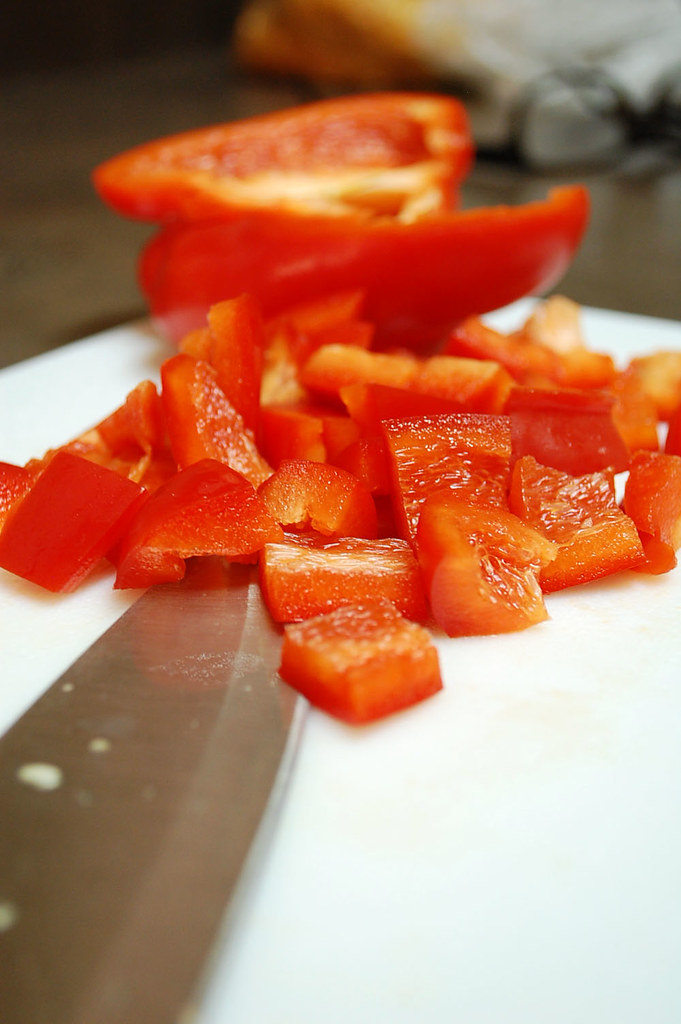
1/2 Red Bell Pepper
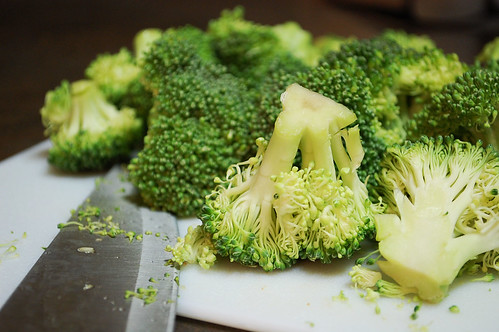
1/2 a bag of Fresh Broccoli
Small bit of Basil
Pasta
Salt
Pepper
1 jar of Pasta Sauce

Steps:


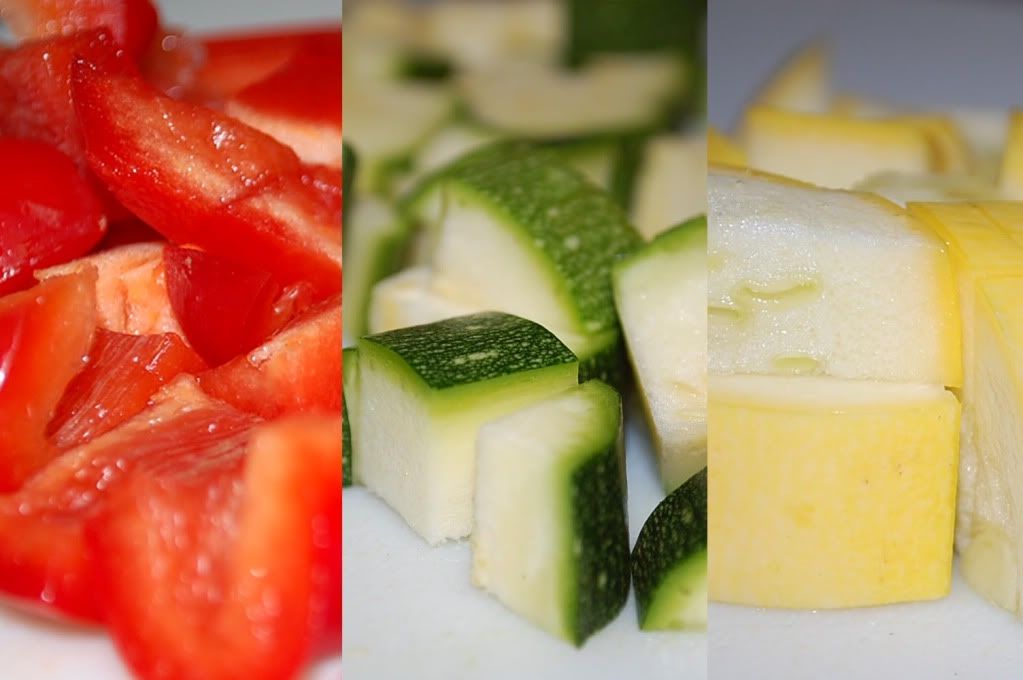
1. Heat frying pan on medium high heat and in another pot bring water to a rolling boil. Meanwhile cut vegetables into desired size (we use quarters).


2. When frying pan is at cooking temperature, add 2 tablespoons of oil and then cup up vegetables. Cook vegetables until golden brown. Add pasta to pot of boiling water.


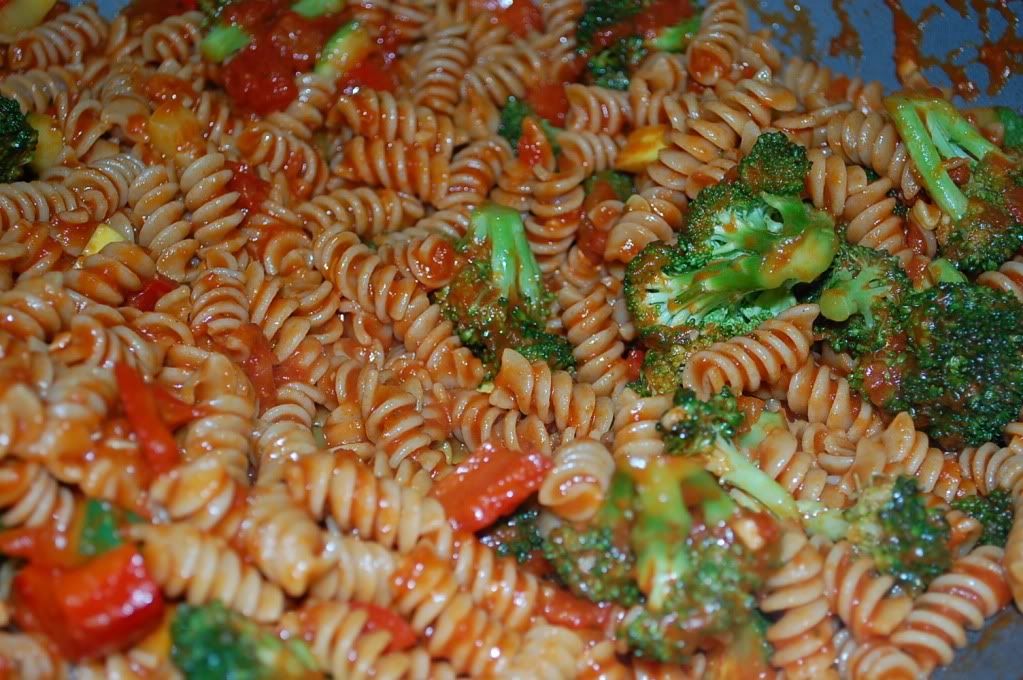
3. When the vegetables are done, mix pasta and sauce into the same pan. Cook until sauce is fully heated. Cut up basil and toss in.


4. Plate the pasta and top with desired cheese (Parmesan, Mozzarella, etc). Voila!


It's really that simple! And so yummy! I think it's hands down the best way to eat pasta. I love veggies anyway, but I don't think I could eat regular ol' pasta again! 

Friday, August 20, 2010

Foodie Feature: Mike's Garlic + Basil Naan Pizza

This is a great and fun recipe if you're home alone or not super hungry, or well... you're like me and you really just fail at all things cooking related. There's NO cooking involved! Except a small stint in the oven just to melt/toast it all! Even I can do that, people! So I know you can, too! Mike is a pizza LOVER! I mean LOVER. And I am not really a fan all that much so this was a nice compromise for the two of us. It's really yummy and so so simple! The rest is allllll Mike! Enjoy!


Garlic + Basil Naan Pizza


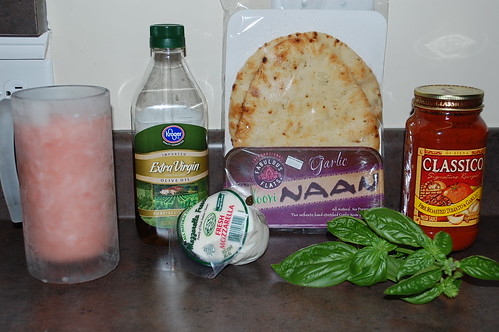
Ingredients:

  • Fresh mozzarella (not the stuff in a bag. look for it in a package in the deli area. it will clearly say "fresh mozzarella."
  • Fresh basil
  • A pack of garlic naan bread
  • A jar of you favorite tomato sauce (I used "fire roasted tomato and garlic")
  • Extra virgin olive oil
  • Ground black pepper
  • A tall frosty beer for the chef (totally optional)

Garlic + Basil Naan Pizza

Step one:
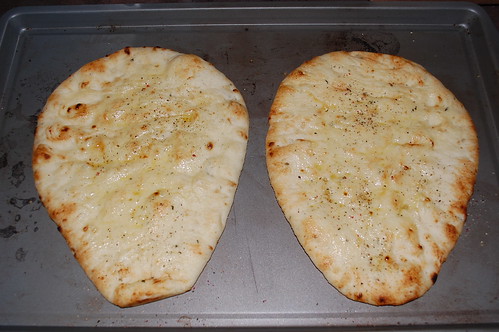
Lay out your desired number of naan breads on a baking sheet. (Cooking these on a baking sheet will yield a soft chewy crust with crispy edges while cooking them directly on the rack will result in a crust that is crispy all the way through. I prefer them on a baking sheet but you decide what's right for you) use a pastry brush or a clean set of hands to brush the bread with a light coat of olive oil. After the olive oil I usually toss on just a pinch of black pepper.

Garlic + Basil Naan Pizza

Step two:
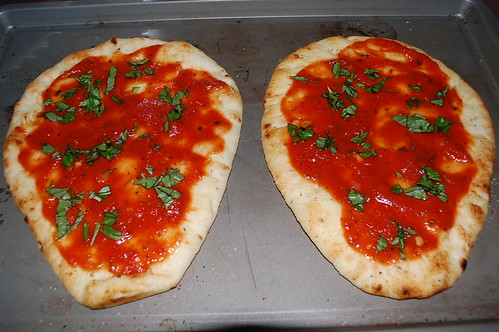
Take your tomato sauce and use a spoon to spread it evenly around the top of the bread leaving just a little bit of a border on the outside so you have a nice crust when it's done. Now take some of your basil (not all of it) and sprinkle it evenly on top of the tomato sauce.

Garlic + Basil Naan Pizza

Step three:
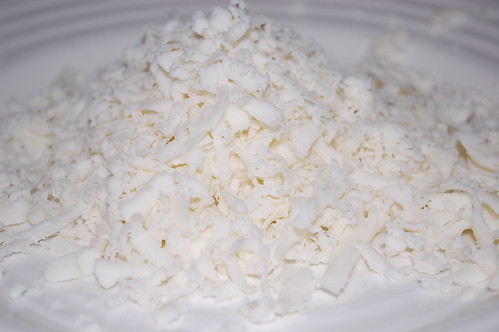
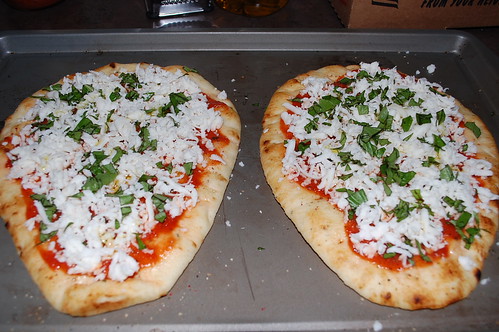
Take your shredded mozzarella and spread in evenly on top of your pizza. use as much or as little as you like. Sometimes the fresh mozzarella is a little tough to grate. the best way to do it is to used the big holed sized of the grater and use light pressure. It's ok that it crumbles apart (and it will) because you can use all those crumbles too. It's just cheese and it's all going to look the same after it spends a little time in the oven.

Garlic + Basil Naan Pizza

Step four:
Take the rest of your basil and spread it out evenly on top of the cheese. Now really really really lightly drizzle olive oil over the whole thing and then crack some pepper on top of it just to finish it off.

Step five:
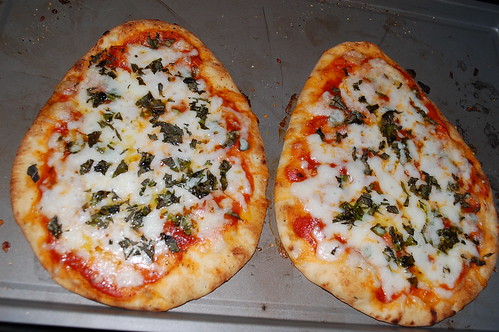
Place your pizza(s) in an oven that has been preheated to 350. let it cook for about 12-15 minutes. You're looking for melted cheese and a golden brown edge on the crust.

Garlic + Basil Naan Pizza

Step six:
Nom.

We served our Naan pizzas with a side of vegetables. This is completely optional of course! 

Side of Vegetables

Let us know if you decide to try it!

xoxo

Thursday, August 12, 2010

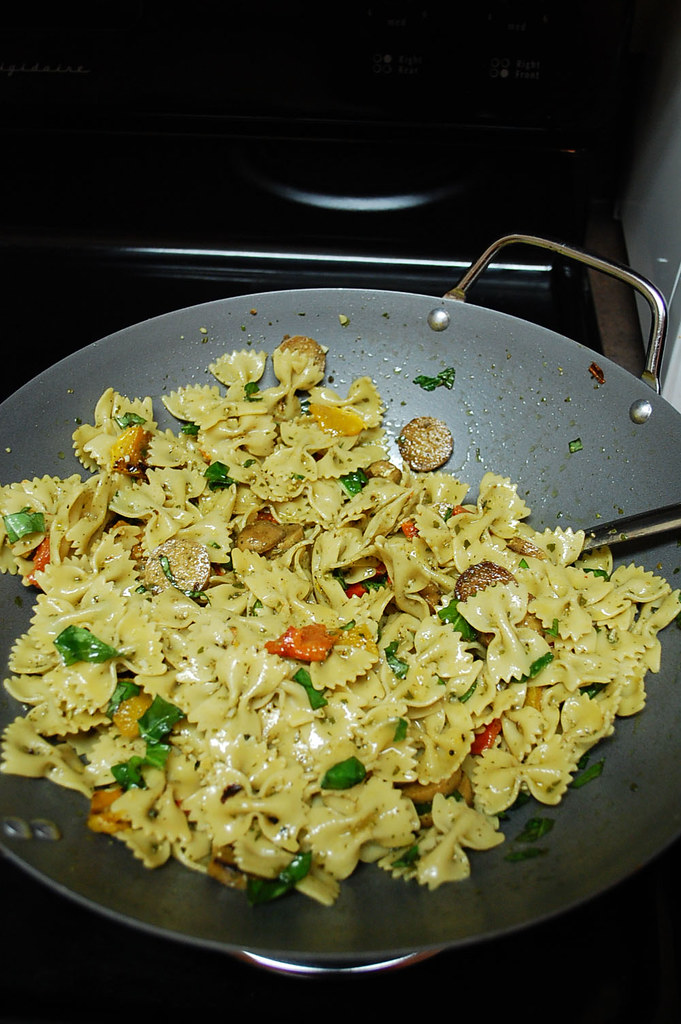
Foodie Feature: Mike's Bowtie Pasta + Peppers

Mike made another yummy dinner last night and we were much too tired to write it out and post it so we saved it to tonight (where we just spruced up a pizza with herbs and such... but we'll share that another time!). He's really been getting into the cooking things lately and I'm glad. He seems to really really love cooking. And I'm so proud of him for cooking such yum stuff! I wish you all could come over and eat with us to experience it! [If you're in/around middle Tennessee, let a girl know! We'll invite you over sometime!] Anywhoo, as per usual with the Foodie Features, the mic is all Mike's from here on out! Enjoy!
Voila! Bowtie Pasta w/ Peppers


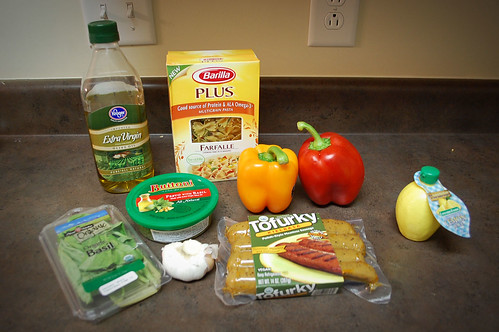
Ingredients:

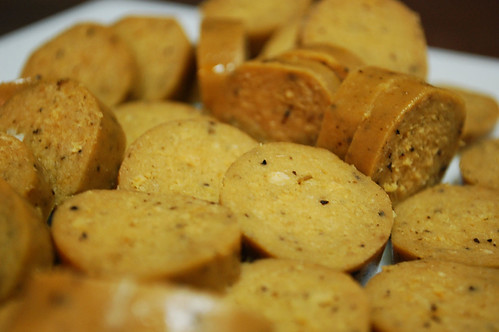
  • 2 links of Tofurky brand Kielbasa [Meat-Free Polish "sausage"]
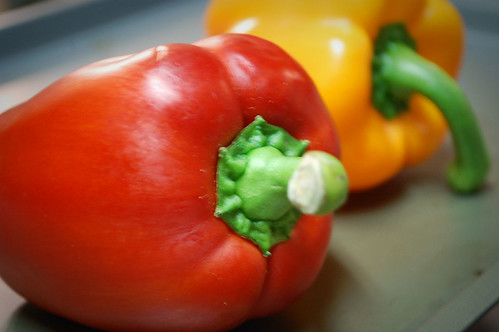
  • 1 red bell pepper
  • 1 orange bell pepper
  • 1 clove of garlic minced
  • 10 oz of bow tie pasta 
  • 5 table spoons of extra virgin olive oil
  • 2 table spoons of lemon juice
  • 2 table spoons of pesto
  • 3 table spoons of shredded fresh basil (preferably from your bonus moms garden, but store bought will work.)
  • salt and pepper

 Bowtie Pasta w/ Peppers

Step one:
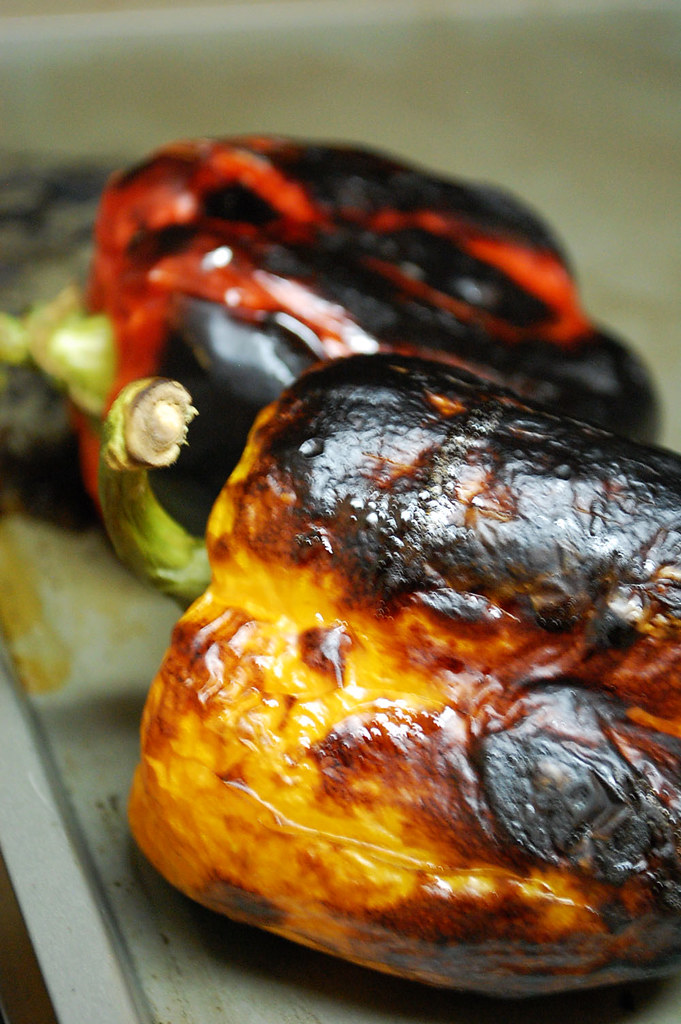
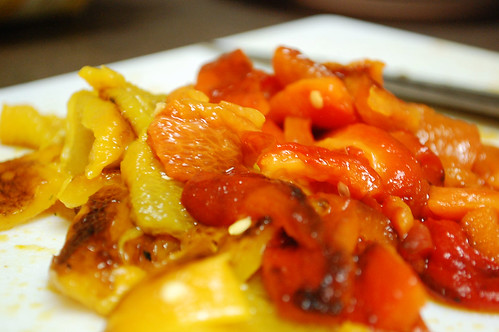
Preheat the broiler on your oven to high. Place the whole peppers (stem and all) on an ungreased baking sheet. Turn them frequently until the are about 80% black. just trust me, I'm not going to make you eat burnt peppers. When the peppers are done take them out of the oven and set them aside until they are cool enough to handle.

 Bowtie Pasta w/ Peppers
 Bowtie Pasta w/ Peppers

Step two:
Bring a large pot of water to boil. Add pasta, reduce heat slightly and cook until tender. Drain pasta when finished and put aside.

 Bowtie Pasta w/ Peppers

Step three:
In a medium mixing bowl combine minced garlic, olive oil, pesto and lemon juice. stir until blended well.

Step four:
When the peppers are cool enough to handle remove blackened skin completely. Then remove the stem and seeds and chop the peppers in to medium chunks. 

 Bowtie Pasta w/ Peppers

Step five:
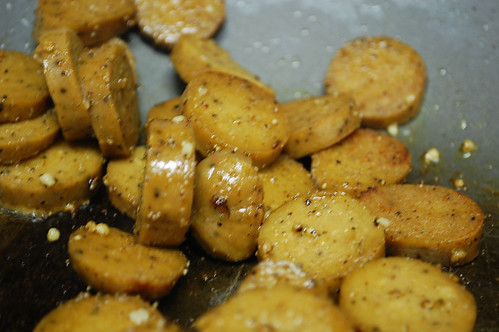
Slice up kielbasa and fry in a large saute pan (or in my case a wok.) with olive oil until slightly browned.

 Bowtie Pasta w/ Peppers
Tofurky Kielbasa

Step six:
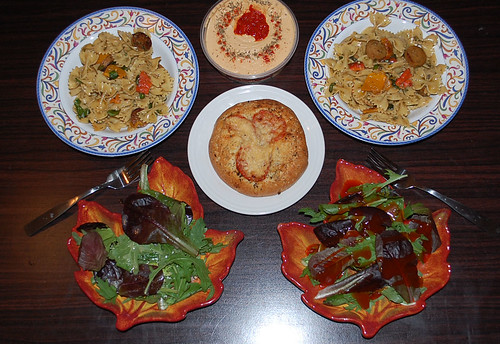
As soon as the kielbasa is done cooking add the pasta, peppers, and sauce all together in the same pan as the kielbasa and stir until everything is mixed together. Salt and pepper to taste. When everything is brought back up to temperature mix in the basil and immediately remove from heat and then serve. [Kaelah's note: We served ours with Tomato + Basil Focaccia and spicy pepper hummus. And of course, like every single meal, with a fresh Spring salad.]

 Bowtie Pasta w/ Peppers
Dinner!

Let us know if you try this one [or the other!] 

xoxo


PS; You can make this meal vegan by substituting the pasta with an egg-free noodle or shell (we didn't realize these contained eggs) and foregoing the pesto! 

Tuesday, August 10, 2010

Foodie Feature: Mike's Udon Yum-Yum

Okay, so let's just be honest here... I have absolutely nothing to do with this post except for 1) I named it [Do you really think Mike would name something "Udon Yum-Yum"?!] and 2) I nom'd the beejeezus out of it [Seriously... it's delicious!]. Now that we've got that out of the way, we wanted to showcase some more of the things we make [read: Mike makes, we eat] because many of you expressed interest in seeing and hearing more about what we cook via the survey. So here you have it! I don't know how often this will happen, but I'm sure it'll be much more frequent as Mike has been cooking every single night and everything is deelish! From here on out in this post, it's Mike talking to you so enjoy! [And let us know if you decide to give it a go!]. You can visit [and follow!] Mike's blog by CLICKING HERE!


Mike's Udon Yum-Yum

Udon Yum-Yum


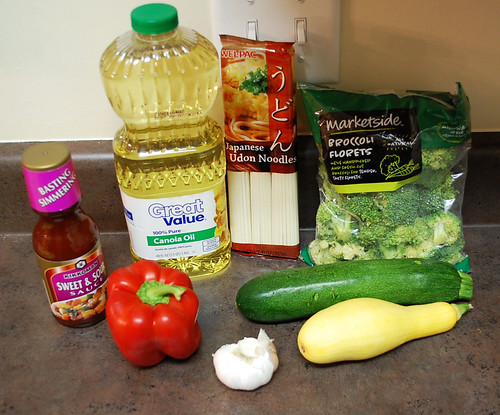
Ingredients:
  • Canola Oil
  • 1 Clove of garlic (NOT the whole thing!)
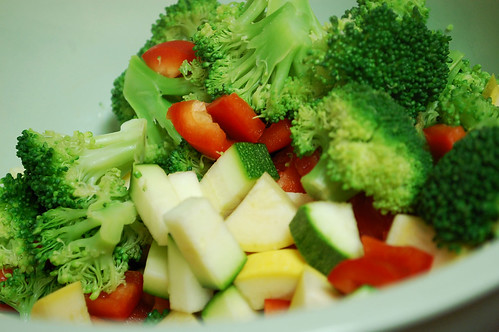
  • 2.5 Cups of broccoli 
  • 1 Yellow Squash
  • 1 Zuchini
  • 1 Red pepper
  • 10 oz of Udon Noodles
  • Sweet and Sour Sauce
  • Salt and Pepper

Udon Yum-Yum

Step 1:
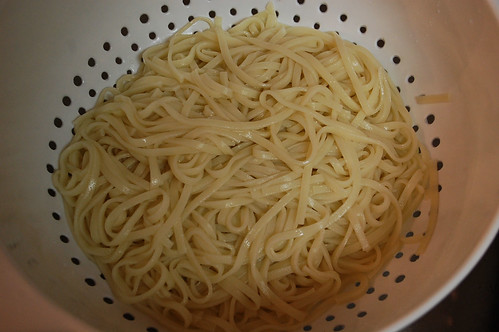
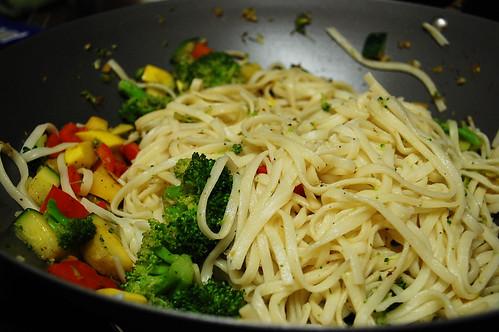
Cook noodles according to package directions. You want to be careful you do not cook the noodles for too long otherwise they will be a little mushy. You want them to be thoroughly cooked while still being firm. When the noodles are done drain the water in a large colander and then toss them under cold water to stop them from cooking any further. 

Udon Yum-Yum
Udon Yum-Yum
Udon Yum-Yum
Udon Yum-Yum
Udon Yum-Yum

Step 2:
Chop your vegetables to desired size. I usually chop them in to pieces about the size of your thumb. Not the size of your friends thumb, YOUR thumb. 

I usually put my broccoli in a steamer bag and microwave it for about 30 seconds just to soften them up a bit since they tend to take much longer than any of the other vegetables to cook. This way you can toss everything in together and the broccoli is already nice and moist. 

Combine all the vegetables in a mixing bowl and then add in your minced clove of garlic. Salt and pepper your veggies to taste and then mix them all together. 

A note on your wok:
Always bring your wok (or any other pan) to cooking temperature before adding oil. Adding the oil after the wok is already hot is going to create a film to keep food from sticking. (Do not use olive because it burns at high temperatures. Use oils like canola or peanut) When bringing your wok to the correct cooking temperature you can easily test its readiness by flicking water on the cooking surface. You want the water to immediately steam when it hits the wok and then linger on the surface and simmer. If it evaporates when it hits the surface the pan is too hot and needs to be turned down and tested again until it is correct. Once the heat is correct add the oil and swirl the pan to make sure the bottom and sides are coated.

Udon Yum-Yum
Udon Yum-Yum

Step 3:
Heat wok and add vegetables. They will cook quickly and need constant movement. They are done when they have a nice golden finish on them

Step 4:
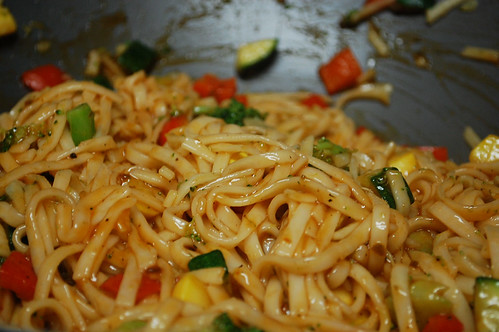
As soon as your vegetables are done cooking add your noodles into the mixture. You want to stir ever thing until it is nicely mixed and the noodles are nice and hot again. Then add your desired amount of sauce (we like a lot) and stir until sauce is evenly distributed. 

Udon Yum-Yum
Udon Yum-Yum

Step 5:
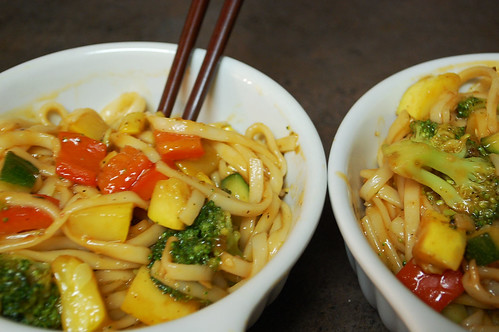
Eat. We paired ours with a fresh Spring salad.

Udon Yum-Yum
Udon Yum-Yum

Until next time,
Mike
(and)

Saturday, January 9, 2010

and it's the weekend...

so yesterday we went and ate at genghis grill and had a nice little date day i suppose. then last night i called into work to find out if i needed to bother coming in... granted i'm not snowed in or anything but you mention the word 'flurries' and it sends everyone in tennessee into a tail spin. they told me to go ahead and come in so i did just that. got to work at 9pm and found out that they wanted to call me at 8:30 and say stay at home... but i leave for work at 8pm so i was already over halfway there. bleh. it was dead. dead dead dead. finally at midnight my boss man just told mde to head north and go home. i counted down my register, put out some glasses and headed home. much to my dismay, i had very very few bills in my pocket from the night. i talked to mike on the way home and finally got in at 12:45am. i practically coasted through downtown because it was so icy. i was determined to craft away last night so i did! i stayed up until 4am fighting with my sewing machine trying to make an iphone case. i hate how it came out but i guess its a step in the right direction.

we slept and slept and slept and slept. finally pulling ourselves from bed at 1:15pm. we made toast and headed out for daily errands. we went to JoAnn Fabric to get a new rotary cutter, a cutting mat, some snap clips, felt felt felt, sewing books, and a mini craft iron among other things. Then we got chips & salsa from Garcia's [our fave!] before heading home. We ate some chips and salsa, I listed a ton of stuff on my etsy and then we headed to Kroger to get a few groceries. we came home and made a vegan pizza with the new "cheese" i had talked about in the last post [btw, the brand is VEGAN GOURMET, not vegan alternative, my bad!]. but anywhoo, the pizza was fantastic. [i'll include the recipe below!]

this is what i wore today:


HOLY COW I'M WEARING JEANZZZZ! weird.

Outfit Details:
Shirt: Truly Madly Deeply for Urban Outfitters $28
Jeans: Charlotte Russe $30 [the flare jeans that a reader HATES, ha sorry!]
Flats: Walmart $9
Vegan Leather Jacket: Aryn K. for Therapy $100

The Pizza:
BEFORE it went in the oven

AFTER it came out. YUM!

This is the crust we used. You can buy it at Whole Foods.

How to make it:
  • Preheat over to 425 degrees F. Take the crust out and drizzle it with extra virgin olive oil. Use a pastry brush to distribute it evenly. Apply a coat of pizza sauce [the amount to your liking]. Shred up Vegan Gourmet Mozzarella Cheese Alternative and distribute evenly over entire pizza. Cut up a zucchini and slice in halves. Place zucchini and mushroom slices on pizza. Add a little more sauce and "cheese" if you want the vegetables to bake IN the pizza. Place pizza directly on the oven and cook for roughly 8-10 minutes, or when it looks done. Then slice and enjoy!
Mike and i were both pretty ecstatic when we took our first bite of the pizza because it was phenomenal. Mike's favorite food is pizza and he could eat his weight in it in a single day, i'm sure. Now he can have it yet again! I'm not sure I'd even want regular pizza again. I liked this tofu cheese because its not as heavy so it doesnt leave you feeling bloated and gross like normal pizza does. Anyway, y'all should all try it because it will make you believers :)

Angie, the other bartender at work, just called to let me know that i'm not missing a thing. It's been dead all night and we're just praying that it picks up next weekend. I've missed practically a week and a half's worth of work because of this stupid slump. I can't afford to miss any more :(

Here are two funny pictures of Baby G today.. I felt like sharing!


and just to end things on a good note, here are some silly FlipCam videos!


oh oh oh, one more thing, i know i mentioned it in passing up above, but i FINALLY listed some things on MY ETSY so please click HERE to have a look! especially if you love owls or vintage brooches because i'm clearing out parts of my collections! *If you're interested in buying multiple things, i WILL cut you a deal! just speak to me before purchasing!


Related Posts Plugin for WordPress, Blogger...